
Glazing your clay charms for a shiny finish
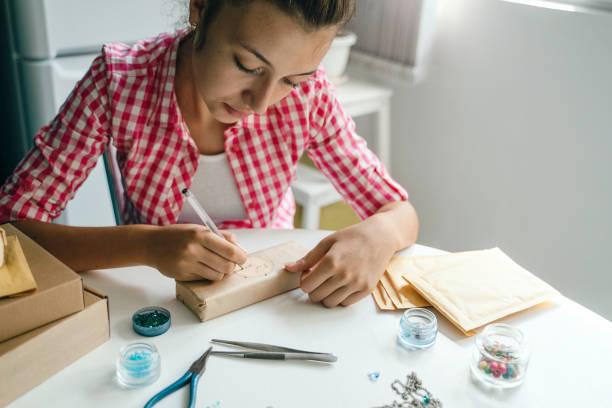
First, let’s talk about why glazing is such a big deal. When you shape and bake polymer clay, the surface often comes out matte, kind of dull, like a flat crayon. But when you add a glaze, it transforms into a glossy, dimensional piece that catches the light and makes colors look richer and brighter. Plus, glaze protects your charm from scratches, smudges, and everyday wear and tear, so your favorite pendant stays cute for a long time. Think of it as giving your charm a tiny little raincoat that also makes it sparkle! That’s a win-win for any young jewelry maker.
Now, what do you need to get that super shiny finish? There are a few options, and you can pick what works best for you. The easiest one is a special polymer clay glaze that you can find at craft stores or online. It comes in a little bottle with a brush attached, just like nail polish. Another super fun option is UV resin. This is a liquid that you paint onto your charm and then set under the sun or with a special UV lamp. It dries super hard and gives a glass-like shine that feels amazing. Just be sure to ask a grown-up for help with resin, because it can be a little tricky at first. You can also use clear nail polish, but it might not last as long, so it’s better for practice pieces.
Ready to glaze? Here is the secret to perfect technique. First, make sure your baked clay charm is totally clean and free of dust or fingerprints. Gently wipe it with a soft cloth or a tiny bit of rubbing alcohol on a cotton swab. Then, hold your charm by the edge or stick it onto a toothpick so you don’t leave marks on the front. Dip your brush into the glaze and apply a thin, even coat. Here’s the big tip: less is more! If you pile on thick glops, it will drip and dry all bumpy. So brush it on smoothly, covering every corner and nook. For charms with holes for jump rings, make sure you don’t clog the hole with glaze. If you do, just use a pin to poke through while it’s still wet.
After your first coat is done, set your charm aside to dry completely. This can take anywhere from a few minutes to a couple of hours, depending on the type of glaze you’re using. Patience is key, because touching it too soon leaves fingerprints or smudges. Once it’s dry, check the shine. Usually, one coat is okay, but for that super juicy look, add a second thin coat. Some glazes get cloudier if you add too many layers, so stick to one or two for best results. If you’re using UV resin, you’ll need to pop it under the lamp for the time listed on the bottle, then it’s instantly hard and shiny. That’s super satisfying to see!
Oh, and don’t be afraid to get creative with your glaze. You can mix in a tiny bit of glitter or use a colored glaze to give your charms an extra magical vibe. Just remember that less is best, so you still see your cute clay design underneath. Also, always glaze in a well-ventilated spot and let your charms dry on a piece of wax paper or a silicone mat, so they don’t stick to your table. If you make a bunch of charms, you can batch-glaze them all at once like a little factory, then string them onto necklaces, bracelets, or keychains. Your friends will be so impressed when they see your shiny, professional-looking jewelry.
The best part about glazing is that it makes your handmade pieces feel truly finished. You put in the time to shape, bake, and decorate, so the gloss is the cherry on top. And guess what? The more you practice, the better you’ll get at knowing exactly how much glaze to use and how to avoid drips. Even if your first try isn’t perfect, that’s totally okay. Every craft has a learning curve, and your next charm will be even shinier. So go ahead, grab your favorite clay creation, give it a glossy makeover, and wear it with pride. Your jewelry box is about to get a whole lot more glamorous!