
Hanging necklace wall with thumbtacks
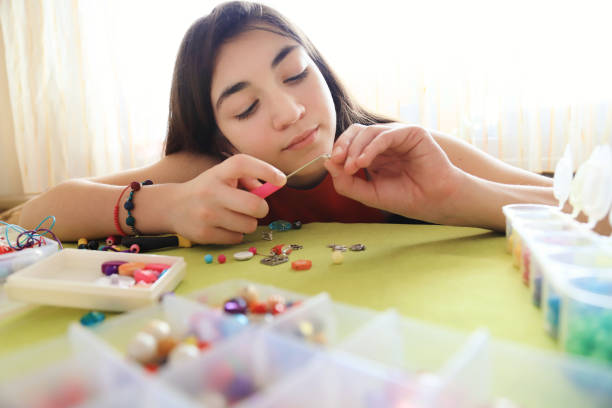
First, let’s talk about why a necklace wall is such a great idea. When your necklaces are lying flat in a drawer or a box, they like to secretly twist together. You pull one out, and suddenly you have a mess of chains and charms that takes forever to untangle. A hanging wall fixes this because each necklace gets its own special spot. You can see everything at a glance, which means picking out your jewelry for the day becomes super fast and easy. Plus, displaying your necklaces on a wall makes them look like little pieces of art. You can arrange them by color, by length, or by your favorites. It is like decorating your room with your own amazing style.
Now, let’s gather your supplies. You will need a wall space that is empty. It could be beside your mirror, above your desk, or even on the back of your bedroom door. You will also need a handful of thumbtacks. These are the little pushpins with a flat head, and you can find them in all sorts of colors at any craft store. Choose some that match your room or go wild with rainbow colors. You might also want a ruler or a tape measure to help you space the tacks evenly, and a pencil to make tiny marks if you want to be extra careful. That is literally it. No hammer needed. No glue. Just you and your thumb.
Before you start pushing tacks into your wall, take a step back and think about how you want your necklace arrangement to look. You could make a straight line of tacks across the top of a wall, like a little display rack. Or you could make a fun shape, like a heart, a star, or even your initials. You can also do a few rows of tacks so you have room for both short and long necklaces. If you have a favorite necklace that you wear all the time, give it a special tack right at eye level so it is easy to grab. The best part about this project is that you can change it whenever you want. If you get new necklaces or your style changes, just move the tacks around. No big deal.
Here comes the fun part. Take your first thumbtack and press it into the wall. Make sure you push straight in so it goes in nice and sturdy. If you are worried about leaving holes in the wall, you can ask an adult for a piece of corkboard or a foam board. Then you can hang that up and stick your thumbtacks into the board instead. That way, your wall stays safe and you can still get the same look. Also, a little tip: leave a tiny bit of space between the head of the tack and the wall. You want just enough room to slip your necklace chain over the head so it hangs nicely. If you push the tack all the way flat, it is harder to get your chain on and off.
Once you have your first tack in place, continue adding more tacks, keeping them about two or three inches apart. This gives each necklace enough space so they do not bump into each other and tangle. You can put a row of tacks lower down for shorter necklaces and a row higher up for longer ones. Chunky statement necklaces look super cool hanging on their own near the top. Delicate chains with tiny pendants look pretty in smaller clusters. Mix and match until you love how it looks. When you are done placing all the tacks, simply slip each necklace over a tack head by its chain or clasp. Let it hang freely. Watch how amazing your wall looks now. It is like a boutique display, but you made it yourself.
This DIY project is not just about organizing. It is about making your space feel like you. You can decorate around your necklace wall with washi tape, a small mirror, or even fairy lights. Imagine getting ready for school in the morning and seeing your favorite sparkly necklace right there, waiting for you. No more searching. No more knots. Just pure joy. You can also share this idea with your friends. Have a jewelry craft party and make matching necklace walls together. Everyone can use different colored tacks to show off their personality. The possibilities are endless because you are the designer.
So grab those thumbtacks and find a nice, empty spot. In about fifteen minutes, you will have a beautiful, super functional necklace organizer that is totally you. And the best part? You made it with your own two hands. Now that is something to be proud of. Happy crafting, and happy accessorizing!