
Pour glitter resin into silicone molds
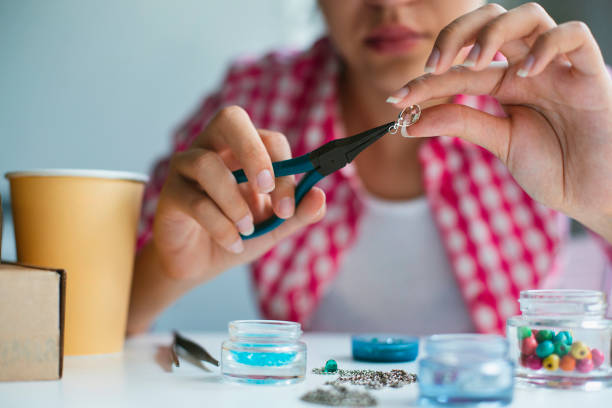
First, let’s talk about what you need. Resin comes in two parts – a resin and a hardener. You mix them together, and that’s what makes your liquid turn into a solid, shiny piece of jewelry. You’ll also need silicone molds, which are soft and flexible, so your finished pieces pop right out without sticking. Look for fun shapes like hearts, stars, flowers, or even little unicorns and mermaids. And of course, the star of the show: glitter! You can use fine glitter for a subtle shimmer or chunky glitter for a bold, fun look. Mix different colors to make your own custom blends. Some craft stores sell glitter in tiny jars, but you can also find it in the nail art section for extra sparkle power.
Now, here’s the super important part: safety first! Resin can be a bit tricky, so always work in a well-ventilated area, like near an open window or outside on a calm day. Wear gloves to protect your hands, and lay down some newspaper or a plastic tablecloth because resin can get messy. Ask an adult to help you with the mixing and pouring, especially the first time. Resin smells a little, and you don’t want to breathe in the fumes. Also, never touch wet resin with your bare fingers. It’s sticky and can irritate your skin. Once you get the hang of it, you’ll feel like a true jewelry-making pro.
Let’s dive into the steps. Start by reading the instructions on your resin bottles. They usually tell you to mix equal parts of the resin and hardener, but always check because different brands might be a little different. Pour the two parts into a small plastic cup and stir slowly. You want to mix really well for about two or three minutes, scraping the sides and bottom of the cup. If you don’t mix enough, your resin won’t harden properly, and you’ll end up with a sticky mess. Once your resin is mixed, it’s time for the fun part – adding glitter! Sprinkle in your chosen sparkles and give it another gentle stir. You can add a lot for a bold look or just a little for a softer glow. If you want to make different colors, pour some plain resin into separate cups and add different glitter to each one.
Now, gently pour the glittery resin into your silicone molds. Don’t fill them all the way to the top – leave a little space, especially if you’re adding a jewelry piece like a bail or a jump ring. You can pour right from the cup, but a toothpick works great for getting every last sparkly drop. Tap the mold lightly on the table to bring any air bubbles to the surface. Then you just have to wait. Resin takes a few hours to set, and sometimes overnight to fully harden. Pop your molds somewhere safe, like on a flat tray, and cover them with a box to keep dust away. Be patient – good things come to those who wait!
After your resin has fully cured, it’s time to unmold. Gently flex the silicone mold from the edges, and your piece will slide right out. If it sticks a little, push from the bottom until it pops free. Now you have a beautiful, shiny, glittery charm! You can turn it into a necklace by adding a cord or a chain, make earrings with hooks, or even attach it to a keychain for your backpack. Adding a jump ring is easy – just find a tiny opening on your charm or glue on a bail, and hook on whatever you like.
The best part about making your own resin jewelry is that you can make gifts for your besties, matching sets for BFFs, or just a rainbow of sparkly pieces for yourself. Mix glitter colors to match your outfit, your mood, or your school colors. You can even add tiny charms, dried flowers, or little confetti shapes inside for extra personalization. If you mess up one piece, don’t stress – just call it a “unique creation” and try again. Every time you pour, you’ll get a little better and a little braver with your designs.
So next time you’re looking for something fun to do after homework, why not pour some glitter resin into silicone molds? You’ll feel so proud when you wear the jewelry you made with your own two hands. And the best part? No one else in the whole world will have the exact same piece as you. That’s the magic of resin – it turns your imagination into something sparkly, wearable, and totally awesome. Now go make some magic, and don’t forget to sparkle!